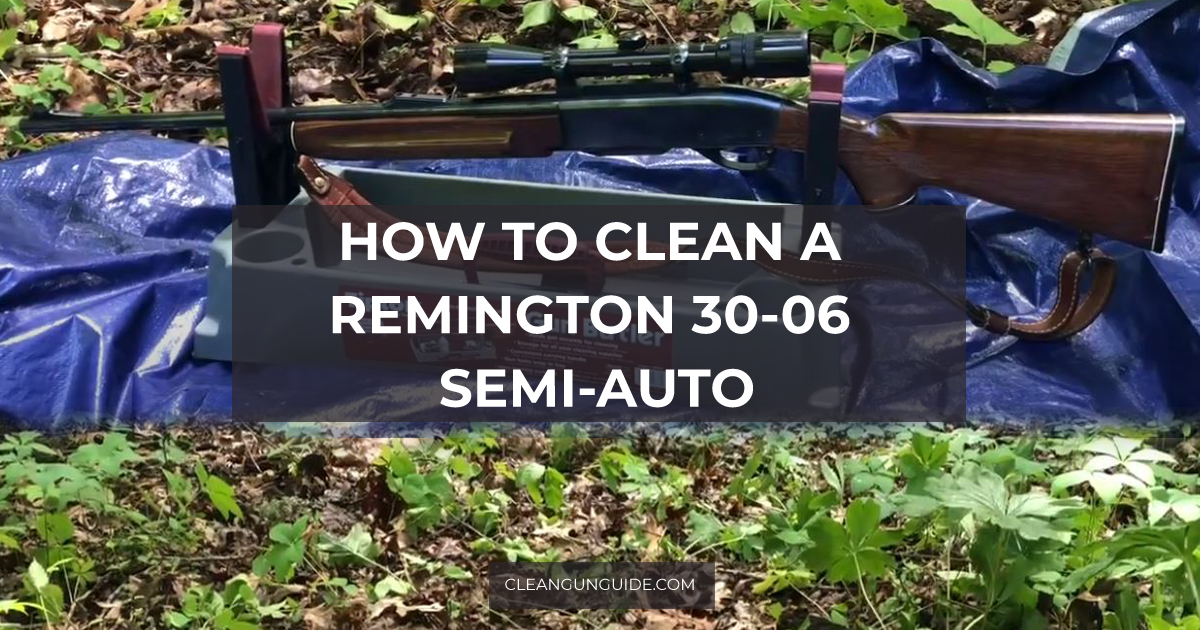
A Remington 30-06 Semi-Auto is a great rifle for hunting. It is accurate, and it has reduced recoil. If you are new to this rifle, it is important to know that cleaning and maintaining it as regularly as you use it can keep it in good working condition.
A dirty Remington will not shoot accurately, and you would be wasting your time in the field trying to hit something with it. To maintain its accuracy, it is essential that you clean it.
You don’t necessarily need to take it apart to clean it after shooting a few rounds, but if you have shot it a couple of times over some period and you have not cleaned it, its performance may be affected.
So take time to regularly clean your Remington to get you hitting those targets all the time. It is not a difficult process, but it might take time if you plan on disassembling the whole firearm. In this guide, we have discussed how to go about cleaning a Remington and the safety tips for handling such powerful firearms.
Cleaning and Maintenance
Step 1:

The first step is to disassemble your Remington 30-06 semi-auto rifle, and you’ll need a couple of tools to do, like punches, a screwdriver, a non-marring hammer, and a wrench.
As for the gun cleaning equipment, you will need a gun solvent and lube, bronze brush, cleaning rod, and a clean rag or cleaning patches. Whichever solvent and lube you choose to use, that’s entirely up to you. However, it is recommended to use solvents and lubes specifically designed for such rifles.
The first step is to ensure that your rifle is not loaded. It is never advisable to clean a loaded gun for safety reasons.
Take your screwdriver and remove the screw at the base of the forearm. Use a flathead screwdriver as it will be easier. Once you have removed the screw, the forearm will slide off.
Take a punch and push out the two pins on the side of your firearm. This should release the trigger mechanism or fire control mechanism. Then move the mechanism forward a little bit, and it will come out with ease.
The next step is to remove the barrel nut at the forefront of your assembly using a punch. Take your non-marring hammer, give the punch a couple of good whacks until the pin comes out.
Once the pin is out, you can now easily remove the charging handle, then take apart the bolt and carrier. This part can be pretty tricky, so take your time to do it properly.
We recommend checking out YouTube videos to see how it is done.
Step 2:

Once you have taken your rifle apart, you will have a couple of pieces at this point. This should include your charging handle, forearm, barrel, ejection port cover, receiver, and frame.
If the ejection port cover looks worn out, consider replacing it with a new one. They are reasonably affordable, so you can replace them as many times as you like.
Step 3:
Take your cleaning rod and attach your bronze brush to the rod, dip it in your gun cleaning solvent, and pass it through your barrel two or three times, giving it a good scrub. Depending on how dirty the barrel is, you may need a couple of times to get all the dirt and carbon fouling out.
Then remove the brush from the rod and replace it with a dry cleaning patch; pass it through the barrel to remove all the dirt and grime. Do this until the cleaning patch comes out clean. So you’ll need to use a couple of cleaning patches.
Step 4:
Take an oiled patch and attach it to the cleaning rod and pass it through the barrel. Don’t use too much oil as excessive oil may cause problems later.

The next step is to take your lubricating oil and clean all the other pieces.
Ensure clean the tight spaces as best you can to remove any dirt, grime, or powder residue.
Step 5:
Once every piece is cleaned and lubed, it is time to put it back together.
It is essential you reassemble the small parts first before putting reattaching them.
Follow the exact same steps you took when reassembling, and you should not have a problem putting your rifle back.

It is important that you reassemble your gun correctly to avoid accidents or protect your gun from damage. Lastly, store your gun in a safe place. This has to be a place where only has access.
Rifle Handling Safety Tips
Rifles are powerful guns, and they are not to be played with at all. With that said, here are some rifle handling safety tips to help stay safe.
- Never clean a loaded gun. Always remove the magazine first and check to see that the chamber has no live rounds.
- Never place ammunition near a source of heat. Avoid smoking while disassembling your rifle.
- Don’t store your gun while it is loaded.

- Always point the muzzle of your rifle in a safe direction whether it is loaded or not.
- Do not place your hand on the trigger when disassembling and reassembling your gun. Only place your hand on the trigger when you are ready to shoot.
- Always use the correct ammunition to prevent serious injury and to protect your gun from damage.
- Always wear ear and eye protection when shooting your firearm.
- When cleaning your gun, make sure to use the proper gun cleaning equipment. Avoid using house detergents or other solutions to clean your gun.
- Always check your barrel for obstructions, but only do this once you have confirmed that the chamber is empty.
- Always store your gun in a place that you can access and far away from the reach of children.
Conclusion
As you enjoy shooting your Remington 30-06 Semi-Auto, remember to take some time to give it a good clean. This will keep it working well, and you don’t have to worry about missing a target.


